wampserver2.5下载、安装、虚拟主机配置详解
1,下载wampserver2.5
2,安装wampserver2.5
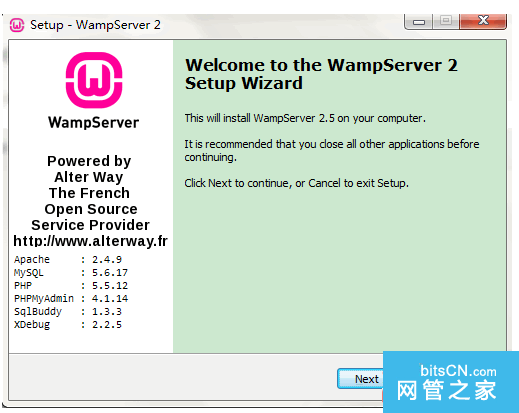
一直点击next就可以安装成功了,安装后电脑右下角会出现如下图标

红色框内显示绿色代表安装完成并成功启动了,默认是英文的现在我们切换为中文的=>右键点击绿色图标=>Language=>chinese。
3,wampserver虚拟主机配置
(这是我的安装目录)打开E:\wamp\bin\apache\apache2.4.9\conf\httpd.conf文件
在154行找到
#LoadModule rewrite_module modules/mod_rewrite.so
去掉前面的 # 号
在515行找到
#Include conf/extra/httpd-vhosts.conf
去掉前面的 # 号
打开E:\wamp\bin\apache\apache2.4.9\conf\extra\httpd-vhosts.conf
添加如下内容:
NameVirtualHost *:80
<VirtualHost *:80>
DocumentRoot “D:/phpxm/yanshi”
ServerName www.yanshi.com
ServerAlias www.yanshi.com yanshi.com
<Directory “D:/phpxm/yanshi”>
Options Indexes FollowSymLinks
AllowOverride All
Require all granted
</Directory>
ErrorLog “D:/phpxm/yanshi/error.log”
CustomLog “D:/phpxm/yanshi/access.log” combined
</VirtualHost>
打开C:\Windows\System32\drivers\etc\hosts文件
添加如下内容:
127.0.0.1 yanshi.com
127.0.0.1 www.yanshi.com
最后建立这个路径下D:/phpxm/yanshi建立index.php文件,index.php内容为hello。
重新启动wamp
浏览器中访问yanshi.com出现会出现如下界面表示配置成功了。